Introduction to Notification Workflow
Notification workflow enables notifications to be sent to recipients or customers as defined in the workflow rules. Notification workfows can be configured or set up by following the below steps:
- Step-1: Log in to your MOK account.
- Step-2: Navigate to Notification Workflow section in the sidebar.
- Step-3: Click on Notification Workflow and you will find yourself in the Notification Workflow List section which will be initially empty.
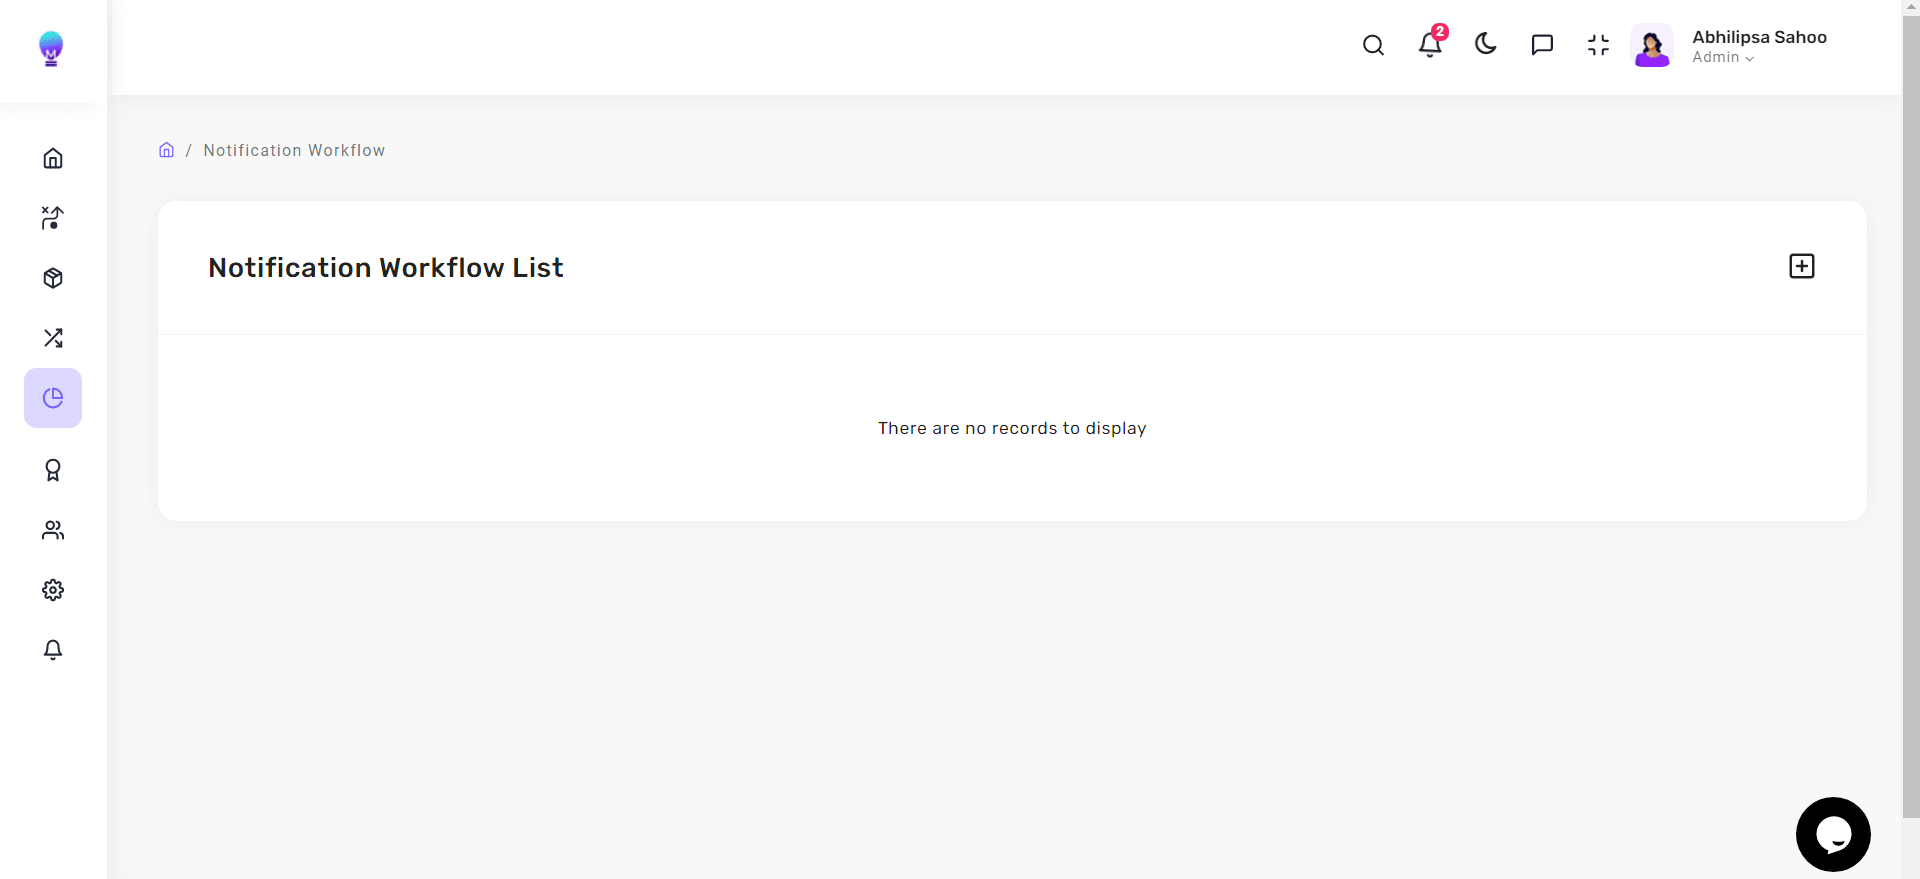
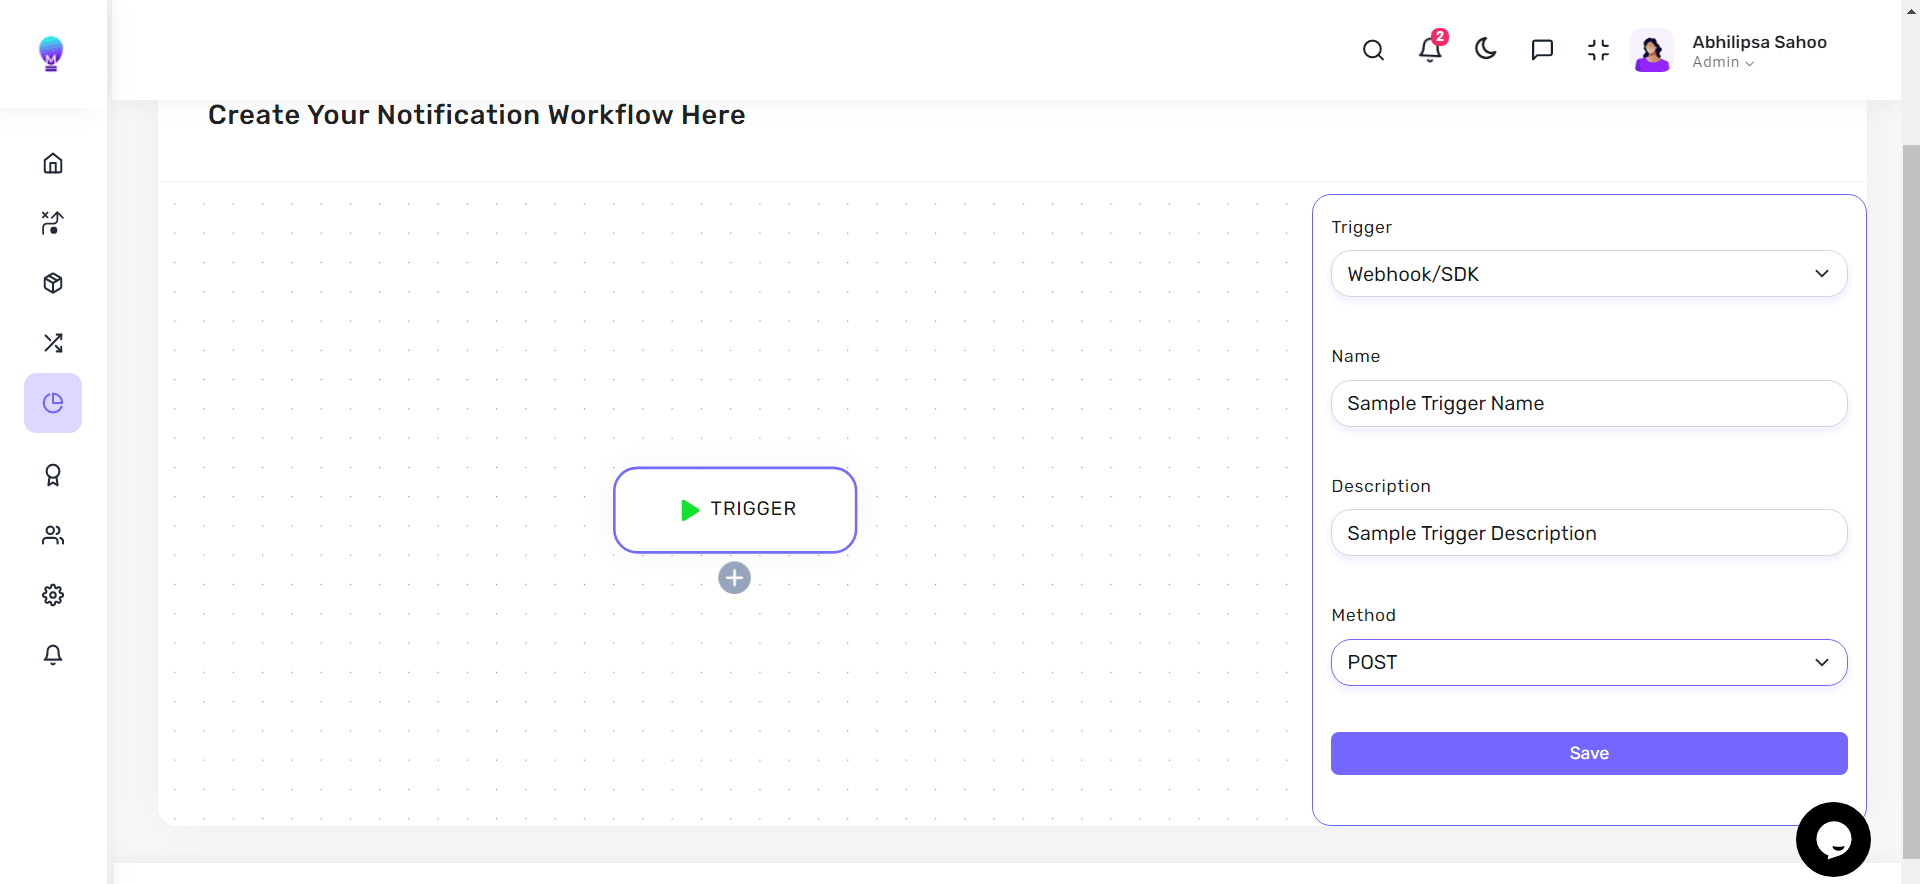
- Step-4: You can set up your first ever workflow by clicking the plus sign in the top right corner of the screen (right against the Notification Workflow List heading), which will lead you to a Create Your Notification Workflow Here canvas with a Trigger node already set up.
- Step-5: Upon clicking the Trigger node, a Trigger Form appears alongside the Canvas containing fields which you are required to fill and save before proceeding to create a new Operation node from the existing Trigger node.
- Step-6: You can then configure a new Operation node from the Trigger node by clicking the plus sign below it.
tip
You can find the plus sign below each node by hovering below the corresponding node.
- Step-7: Click on the Operation node to find a similar Operation Form appear alongside the Canvas, which you need fill and save.
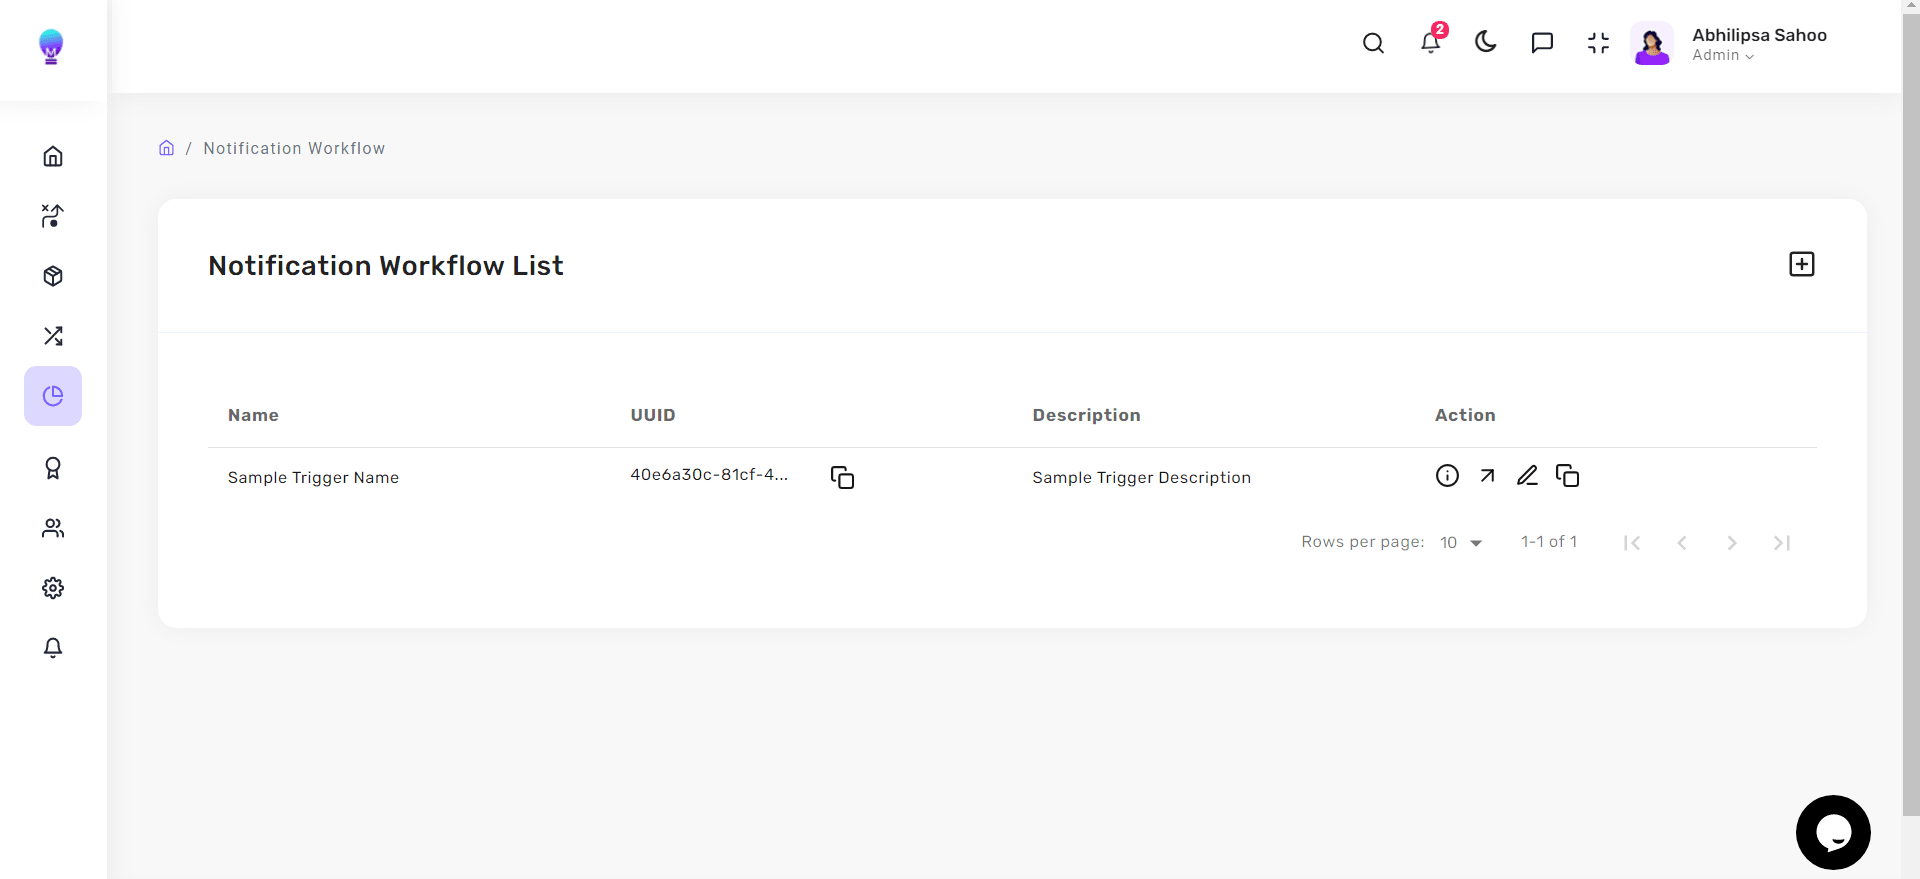
- Step-8: After saving your workflow, you can return to the Notification Workflow list and find your saved workflow with the previously Trigger Name, Trigger Description and a unique UUID assigned to it.
- Step-9: Against the saved workflow, you can find certain actions like View Workflow Preview, Execution List, Edit Workflow, Copy Webhook URL and Copy UUID which you can perform by clicking on corresponding icons.
note
You can know more in detail about the Trigger Form and Operation Form fields in the upcoming sections.